 Open up Photoshop, and the image(s) that need to be edited. Photoshop has a 30 image limit (or at least mine did),
so you'll have to do animated sabers in steps. Select the angular lasso from the menu and go to the
properties/options window. Set the feather to 1 and make sure anti-aliasing is checked. If the saber is in motion,
try chamginf the feather to 2, and if it has a large motion blur, or is close up, try 3. This option determines how
much the edges of the lit up saber will fade into the area around it. A feather of zero would have very sharp edges,
while 5 would look like fog.
Open up Photoshop, and the image(s) that need to be edited. Photoshop has a 30 image limit (or at least mine did),
so you'll have to do animated sabers in steps. Select the angular lasso from the menu and go to the
properties/options window. Set the feather to 1 and make sure anti-aliasing is checked. If the saber is in motion,
try chamginf the feather to 2, and if it has a large motion blur, or is close up, try 3. This option determines how
much the edges of the lit up saber will fade into the area around it. A feather of zero would have very sharp edges,
while 5 would look like fog.
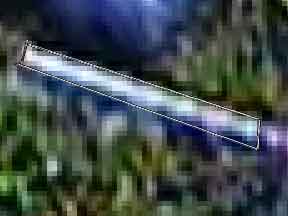
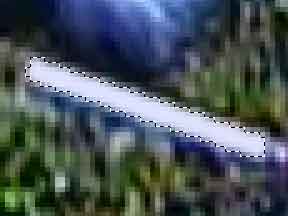
Zoom in on the saber to be lit. This will increase your accuracy. If you have a few thousand images to process,
then you may skip this step to save time. Now click on the four corners of the saber. Don't worry if it looks boxy,
the feathering will round it out nicely. Take a look:
 Now go to the actions window (can be opened from the 'windows' menu), and click on the new action button, pointed to
in the picture to the left. This will bring up a dialogue box where you can name the action and give it a color.
The purpose of doing this, is to record the step you take to create the lightsaber and then be able to replay them all
back with one button. So give you action a name; I chose BlueSaber to identify the saber I was about to create. And
give it a color. This is unimportant but makes it pretty. (sorry about the image quality on the picture below,
i was trying to save some file space) Hit 'OK'.
Now go to the actions window (can be opened from the 'windows' menu), and click on the new action button, pointed to
in the picture to the left. This will bring up a dialogue box where you can name the action and give it a color.
The purpose of doing this, is to record the step you take to create the lightsaber and then be able to replay them all
back with one button. So give you action a name; I chose BlueSaber to identify the saber I was about to create. And
give it a color. This is unimportant but makes it pretty. (sorry about the image quality on the picture below,
i was trying to save some file space) Hit 'OK'.
 The action is created and is ready to record, as shown by the picture to the left. Three steps are going to be played
out now that will create your saber. It is important that you do only these three, and nothing else until they are
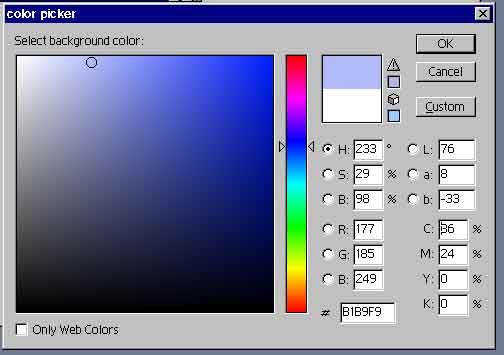
done. If you do something else, the actions might be recorded as part of your steps. Now, choose a background color
that will become the center glow of your saber. Since my final color will be deep blue, I chose a very light blue
color to be my center glow. Hit 'OK' and then press the delete key. This will subtract the color from your selection,
and fill it with the background color that you previously selected. You will also notice the feathering come into
effect. If you had chosen 1, the edges will be defined, while a fetaher of 3 will have a clouded edge.
The action is created and is ready to record, as shown by the picture to the left. Three steps are going to be played
out now that will create your saber. It is important that you do only these three, and nothing else until they are
done. If you do something else, the actions might be recorded as part of your steps. Now, choose a background color
that will become the center glow of your saber. Since my final color will be deep blue, I chose a very light blue
color to be my center glow. Hit 'OK' and then press the delete key. This will subtract the color from your selection,
and fill it with the background color that you previously selected. You will also notice the feathering come into
effect. If you had chosen 1, the edges will be defined, while a fetaher of 3 will have a clouded edge.
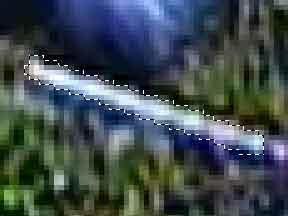
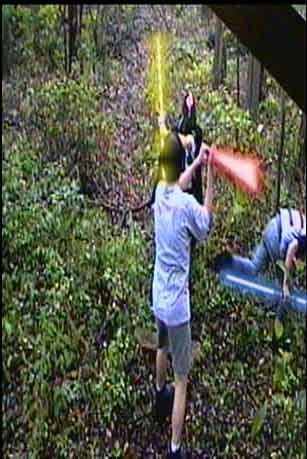
With any luck, it should look like this:
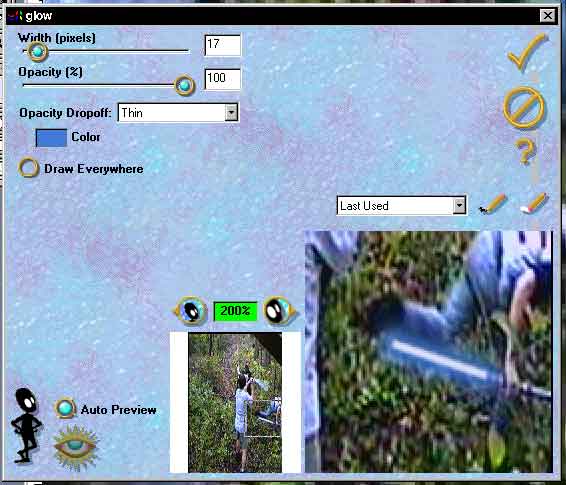
Now only one more step to finish this off. You'll need the eyecandy filters to do this (I warned you at the beginning).
With the saber still selected, choose the eyecandy/glow filter. Choose the main color that you want, deep blue in my
case, and set the opacity and width to whatever you like. Make sure the 'draw everywhere' option is deselected. Hit
'OK'.
 Now go back to the actions window and hit stop (it's to the left of the record button). From now on, you'll only need to
select the edges of the saber and hit the play button and the saber will automatically become lit up. This is good if
you need to do a few thousand like I did. (7,798 for my first movie, and 8,000+ for my second). Now behold the magical
final product:
Now go back to the actions window and hit stop (it's to the left of the record button). From now on, you'll only need to
select the edges of the saber and hit the play button and the saber will automatically become lit up. This is good if
you need to do a few thousand like I did. (7,798 for my first movie, and 8,000+ for my second). Now behold the magical
final product:

So you want to make nice lit up
